 1-800-584-4944



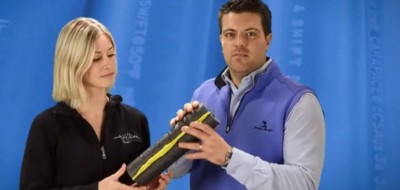
I have a Heat-Line system installed however my pipe appears to be frozen, what do I do?
Welcome to Heat-Line's video blog. Our Vlog topic this month is, "I have a Heat-Line system installed however my pipe appears to be frozen, what...
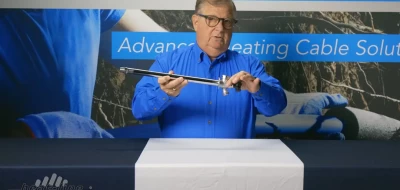
The Retro-Line Retro-Reel dispensing system is a patented feature of the Retro-Line pipe freeze protection system that allows the installation to be extremely simple even at long lengths. Watch the video below to learn how to use the Retro-Reel dispensing system or read the following article as we detail how to use the system in 4 simple steps.
The Retro-Reel packaging features perforations as well as a pass-through hole uniquely suited for ease of installation. Begin by inserting a broom handle through the pass-through hole in the cardboard reel. Place the broom handle on two chairs or another stand to allow clearance around the reel system as it spins and dispenses the heating cable. The Retro-Line is now ready to begin dispensing.
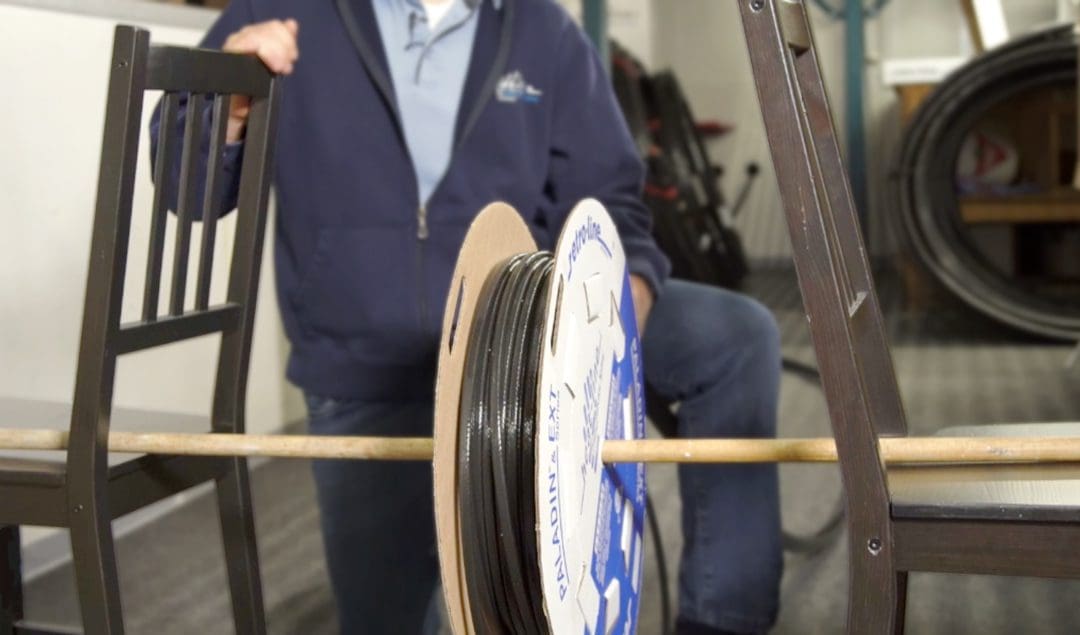
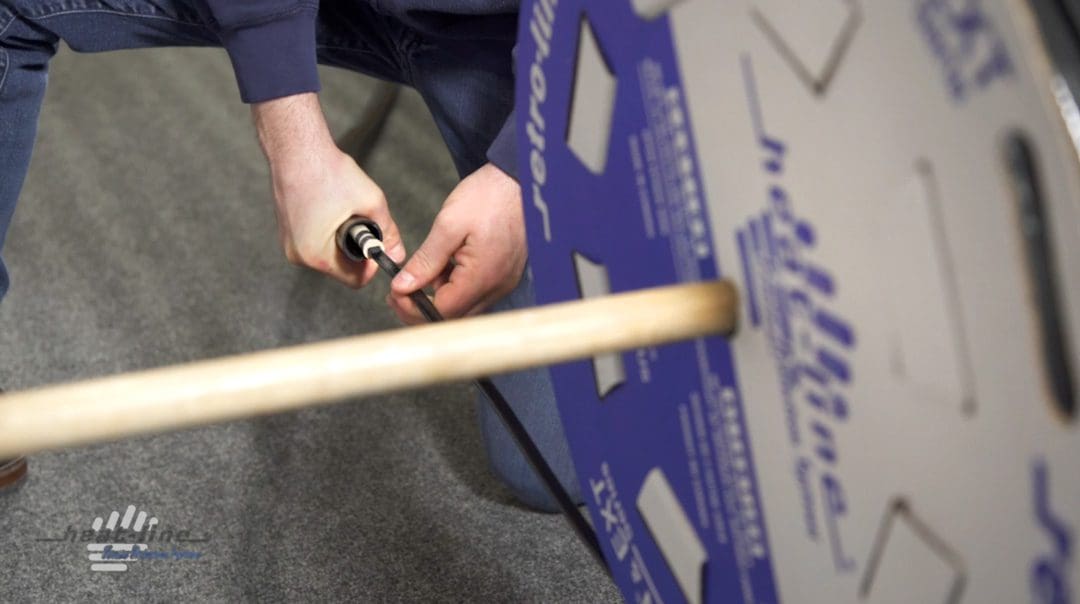
Begin dispensing the Retro-Line self-regulating heat cable into the pipe for internal pipe freeze protection. The full length of self-regulating heat cable is conveniently held in place on the reel while the leading edge of the heating cable slides into the pipe, spinning the reel on the broom handle.
When the full length of self-regulating heat cable has been dispensed into the pipe, the uniquely placed perforations on the cardboard reel will come into play. These perforations are designed so that they can be pushed in to allow access to the Retro-Line fittings and plug end without having to undo the tabs or remove the reel from the broom handle.
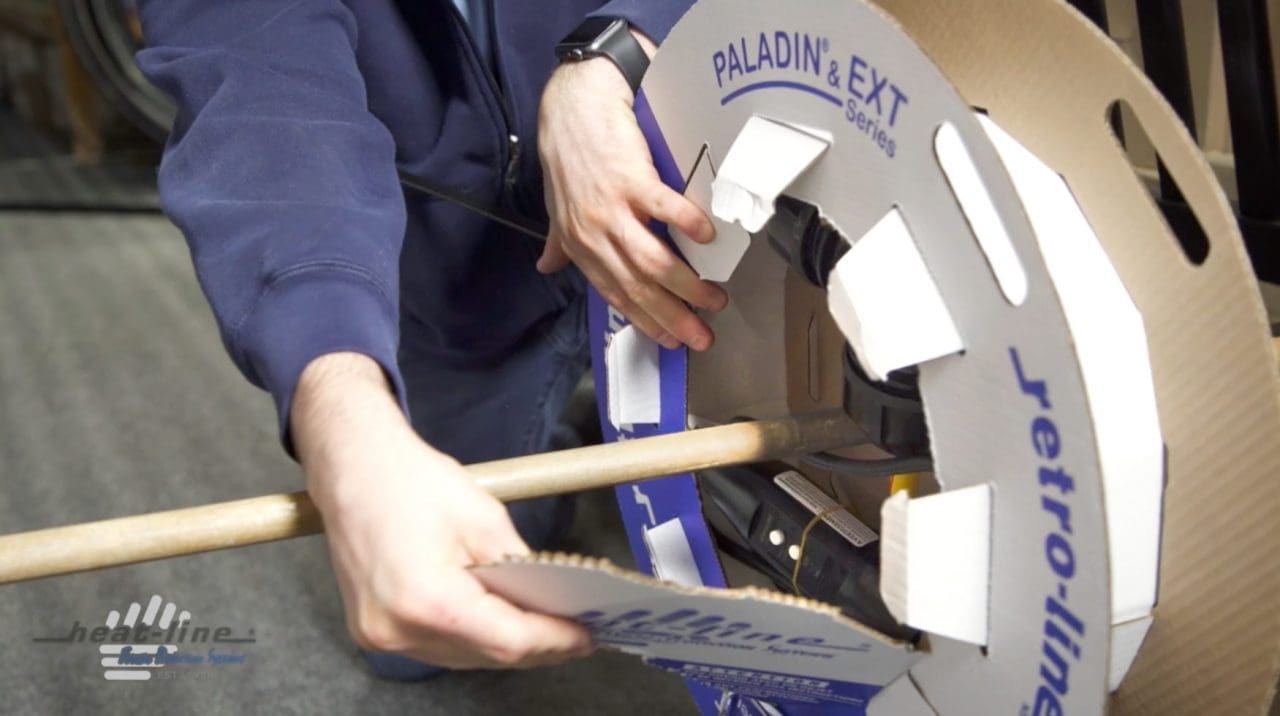
With the fittings and plug end out of the packaging, the system can be continue to be fully inserted into the pipe. At this point the connections are completed and the pipe freeze protection system can be energized depending on the Retro-Line product purchased.
For detailed instructions on complete Retro-Line installation, please refer to our Retro-Line Installation Guide.
For other pipe freeze protection solutions, view our Water Pipe Freeze Protection products page.
Welcome to Heat-Line's video blog. Our Vlog topic this month is, "I have a Heat-Line system installed however my pipe appears to be frozen, what...

Prefab, mobile homes and accessory dwelling units often face freeze risk where the water line rises into the dwelling. Retro-Line freeze-protects water supply lines in...
We’re often asked if it’s OK to freeze protect the hose and the frost-free hose bib that sits on the outside of a building. All...